In this post I’m going to describe the process of creating a SharePoint document library to store SSRS reports. I’ll also show the process of taking a report from a separate SSRS instance and moving it into SharePoint. The SharePoint farm used here has been setup in a configuration where SSRS is integrated with SharePoint.
Create a standard document library to store the reports, then from the ribbon select Library Settings.

On the library settings screen, choose Advanced Settings.

Choose the option to “Allow management of content types”.

Return to the library settings page and select Add from existing site content types under the Content Types heading.

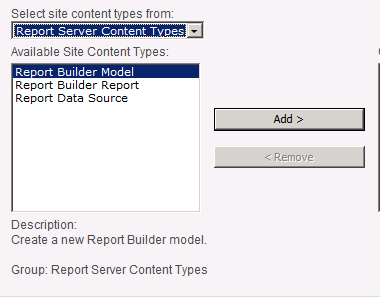
From the “Select site content types from:” drop down, select Report Server Content Types. Add all three content types to the library and click Ok.
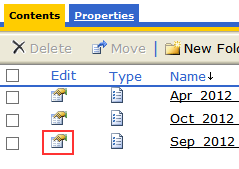
To export the SSRS report from the existing server, navigate to the reports server and the screen showing the report you wish to export. Click Show Details.

Click the Edit icon next to the report to be exported.
Navigate to the Properties page and click Edit below Report Definition. This will allow you to download the rdl file of the report.

Back in the SharePoint document library, show the ribbon and click Report Data Source from the New Document drop down. Enter the same information that’s used for the report data source on the existing SSRS server.

Next, from the ribbon select Upload Document and browse the the rdl file you downloaded earlier. Change the content type to Report Builder Report and click Save.

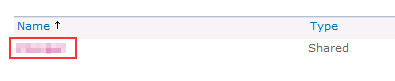
From the drop down for the report, select Manage Data Sources.

Select the data source name that appears.
Next, click on the button next to Data Source Link and from the following screen select the data source you created earlier and click Ok.


You’ve now linked the uploaded report to the data source. Clicking on the report name from the document library will cause the report to run.


