Monthly Archives: May 2013

Unable To Upload Templates With Joomla Running On Windows Azure

If you create a web site on Windows Azure using the Joomla! 2.5 template you may find that you’re unable to upload templates.  This is because the Joomla! template tmp_path and log_path parameters point to unwritable locations.

To change the tmp_path and log_path parameters, open your site using the Microsoft WebMatrix toolkit, then open configuration.php.

Joomla1

Within configuration.php locate the two parameters.

Joomla2

Change the parameter values as below, substituting YourWebSiteName for the name of your web site.

public $tmp_path = ‘C:\\DWASFiles\\Sites\\YourWebSiteName\\VirtualDirectory0\\site\\wwwroot\\tmp’;

public $log_path = ‘C:\\DWASFiles\\Sites\\YourWebSiteName\\VirtualDirectory0\\site\\wwwroot\\var\\logs’;

Joomla3

Save your changes.

Create A Search Tab In SharePoint 2013

In this post I’m going to describe the process of creating a search tab in SharePoint 2013. I’m going to create a tab called SP2010 which returns results from a specific result source called SP2010.

Search Tab 1

Search Tab 2

Start by creating a result source for the specific content source.  From the Search Service Application click on Result Sources under Queries and Results.

Search Tab 3

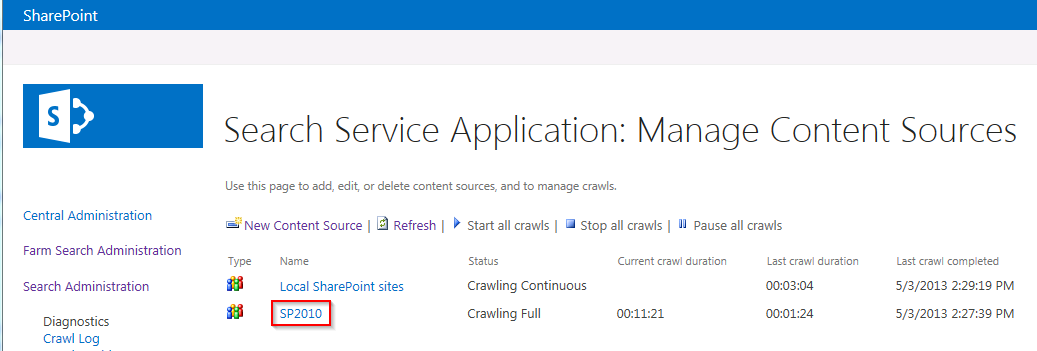
Click on New Result Source.  On the following screen enter a name, I’ll user SP2010 here and in the Query Transform box add ContentSource= followed by the name of your content source.  In the screenshot below I’ve entered ContentSource=sp2010 as that’s the name of my content source.  Click save to close.

Search Tab 4

Now create a page to display the search results for this result source.  Open your search site and from the options menu choose to Add a page.  Enter a name for the page.  I’ve chosen sp2010 as this is the name of my result source.  Click Create to create the page.  When the page is displayed, edit the search results web part.

Search Tab 6

In the web part properties click on Change Query.

Search Tab 7

From the Build Your Query page select your result source and click OK.

Search Tab 8

Check in and publish the new search page.  Next, open Site Settings for your search site and select Search Settings from the Search section.

Search Tab 9

In the Configure Search Navigation section click on Add Link..  Enter a title and in the URL box enter the path to your new search page, e.g. /Search/Pages/sp2010.aspx.  Click OK to save the link.

Search Tab 10

If you navigate to your search site you should see the new tab.

Search Tab 11

The tab will only display results from the result source you selected when editing the search page.

Prevent Reboots During An Unattended Installation Of Office 2010

Office 2010 is installed as part of our standard Windows 7 System Center Configuration Manager (SCCM) task sequence.  Office installed correctly all our PC models except the Dell Latitude E6320 and E6330.  These models rebooted during the Office installation, stopping the task sequence and leaving the laptop unusable.  If you have the same problem the resolution is easy.

Open your existing MSP file that controls the Office installation by running Setup.exe /Admin.

Open the “Modify Setup properties” section and add a new property.  The property name needs to be SETUP_REBOOT and the value Never.

Office 2010 MSP No Reboot

Save your changes to the MSP and Office will no longer reboot.